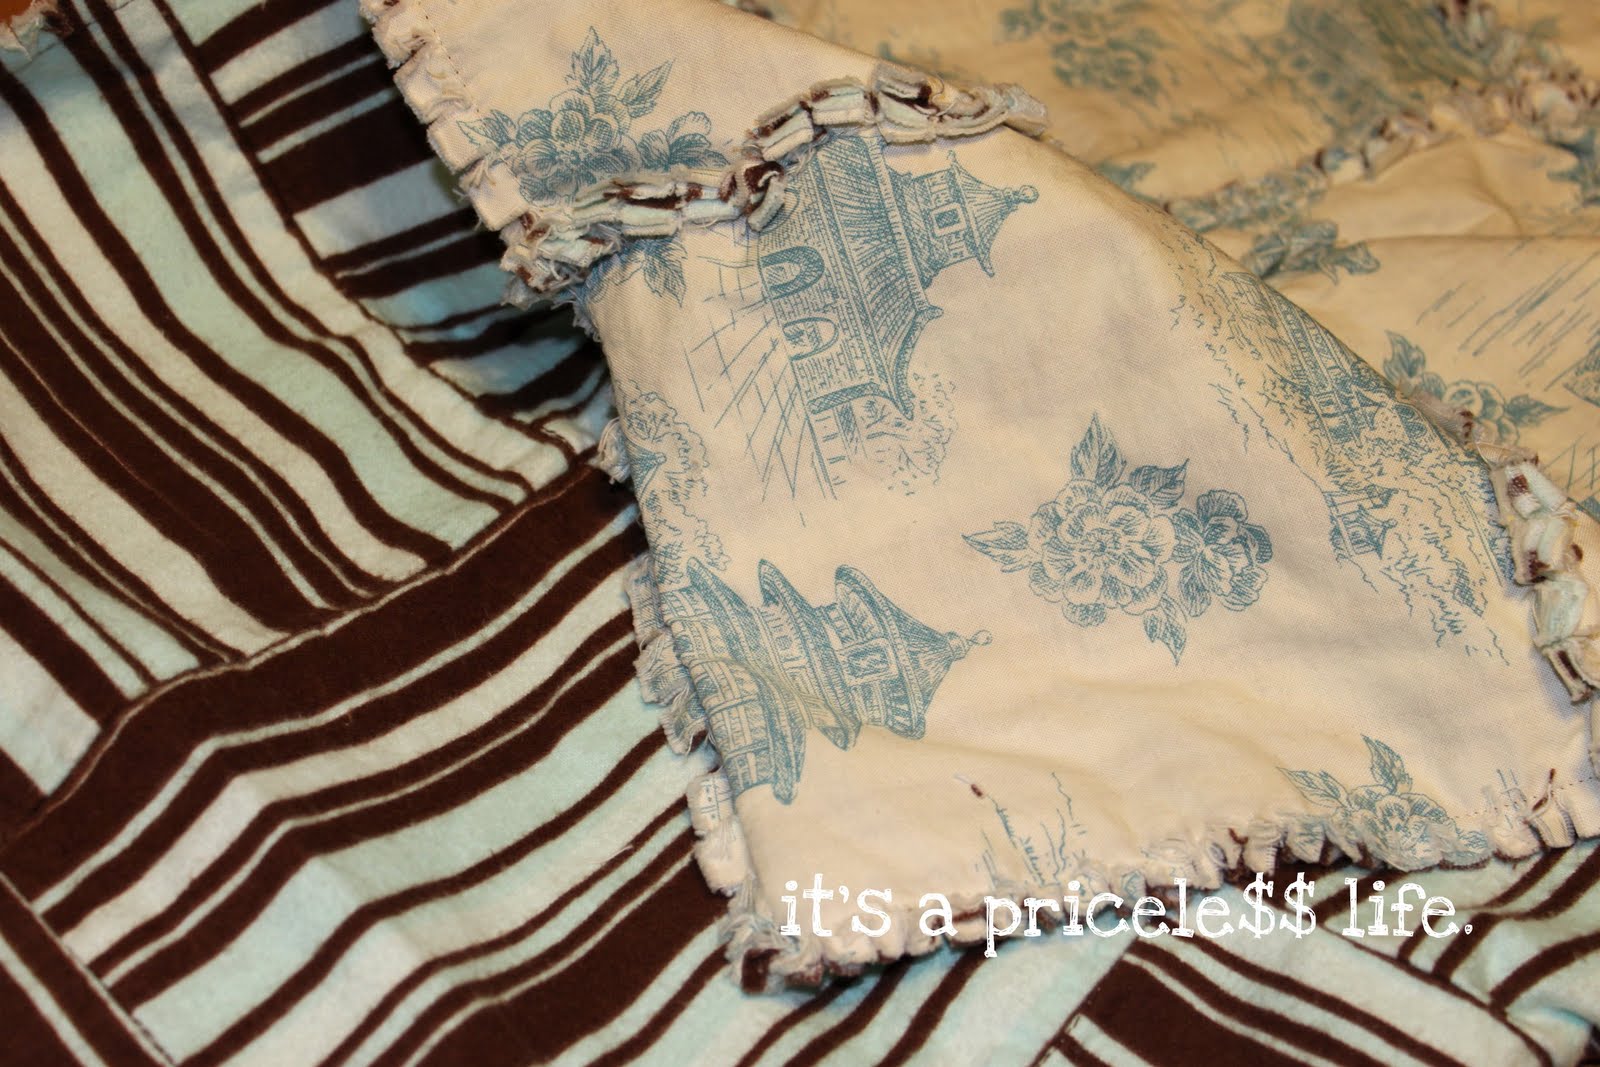
I wanted to make something special for my bonus daughter because she is having a baby girl in January. Somehow, I stumbled upon 'rag quilts' and they looked like something I could do. I'm not a perfectionist nor am I a 'detail' person, so a traditional quilt does not really appeal to me, but the rag quilts are so cute and shabby chic AND they don't have to be 'perfect'. So rag quilts looked like a 'perfect' project for me!
I found a video tutorial on You Tube. You can view it
HERE. It's from www.beverlys.com and it is a great, step by step video.
I wanted to make a baby quilt, so I picked out 5 different flannel fabrics and cut them into 8x8 squares. Since this was the first time making one of these, I didn't realize that if I had the fabric, wrong sides together as I was cutting, it would make it much easier for me later...lesson learned! You will need 10 squares of each color if you are doing a 5 square by 5 square pattern. If you want the back solid, then you will need to adjust your yardage accordingly. You should only need 1/2 yard of each color....I had enough left over fabric that I might be able to make one more quilt. :)

Since she is having a girl, I wanted something 'chic', not too babish, but still adorably cute. I saw that mom made a black/white wipe case, so I ran with that. I choose black/white and light pink as my pallette choice. Put 2 squares together, wrong sides and then lay out your squares until you get the pattern you want. I wanted a 'random' pattern, and this is what I ended up going with.

Sew each 'set' of squares 1/2 inch seam allowance all the way around the square. Do this on all your sets. I did not pin anything until the end...I don't have the patience for all that!

Sew you 'rows' together, 1/2 inch seam allowance again... I didn't pin this step either.


You should end up with 5 rows with 5 squares sewn together. Like this:

Now this last sewing step, I did pin. You need to be able to control your seams, or you will have them getting caught in the 'foot'. Pin one row to the next row. Match up your seams and then put one seam facing to the left, the other facing the right. This way you don't have too many layers of fabric and your sewing machine will be happy. :)

Sew one row to the next. I did this one row at a time...you could probably pin them all and go...I just didn't want to get stabbed by the pins as I was sewing.

You're almost done! It should look similar to this:

Now to start cutting! I started with that little pair of sissors and quickly knew that was NOT going to work. So I headed to Michael's with my 40% off coupon and bought the Fiskars spring action sissors....love them! And you hand will love you for it too! :) Start cutting all your seams about 1/2 inch apart cuts....all the way around...this takes some time and might be bettter done in 'sessions'.

Your seams should looks like this:


Now time to wash....www.beverlys.com recommends washing without fabric softener for the first wash. She also recommended washing in warm, but I was scared it would bleed, so I did cold the first wash. No bleeding at all.

Dry and clean out the lint trap 2 times during the first drying. Wash again with fabric softener this time and dry, cleaning out the lint trap 1 time during the cycle.
Now you are DONE and you have a gorgeous Rag Quilt.

Isn't it beautiful??!! I just LOVE it!!!

I need to go buy pink or black ribbon to 'wrap' it with!

Without disruptions, this can easily be done in 4/5 hours. How cool is that?

Absolutely LOVE, LOVE, LOVE it!!!

Fabric for quilt (online) approx. $50
Time to make quilt - 4/5 hours
Making something with my own hands for my new granddaughter = Pricele$$


"


The following links are to PARTIES that I participated in...click on them and PARTY ON!!!